Sunday, November 27, 2016

Dianne's Inspiration for November

GOOD MORNING 

Hope you are all well 
Dianne here today with my inspiration 

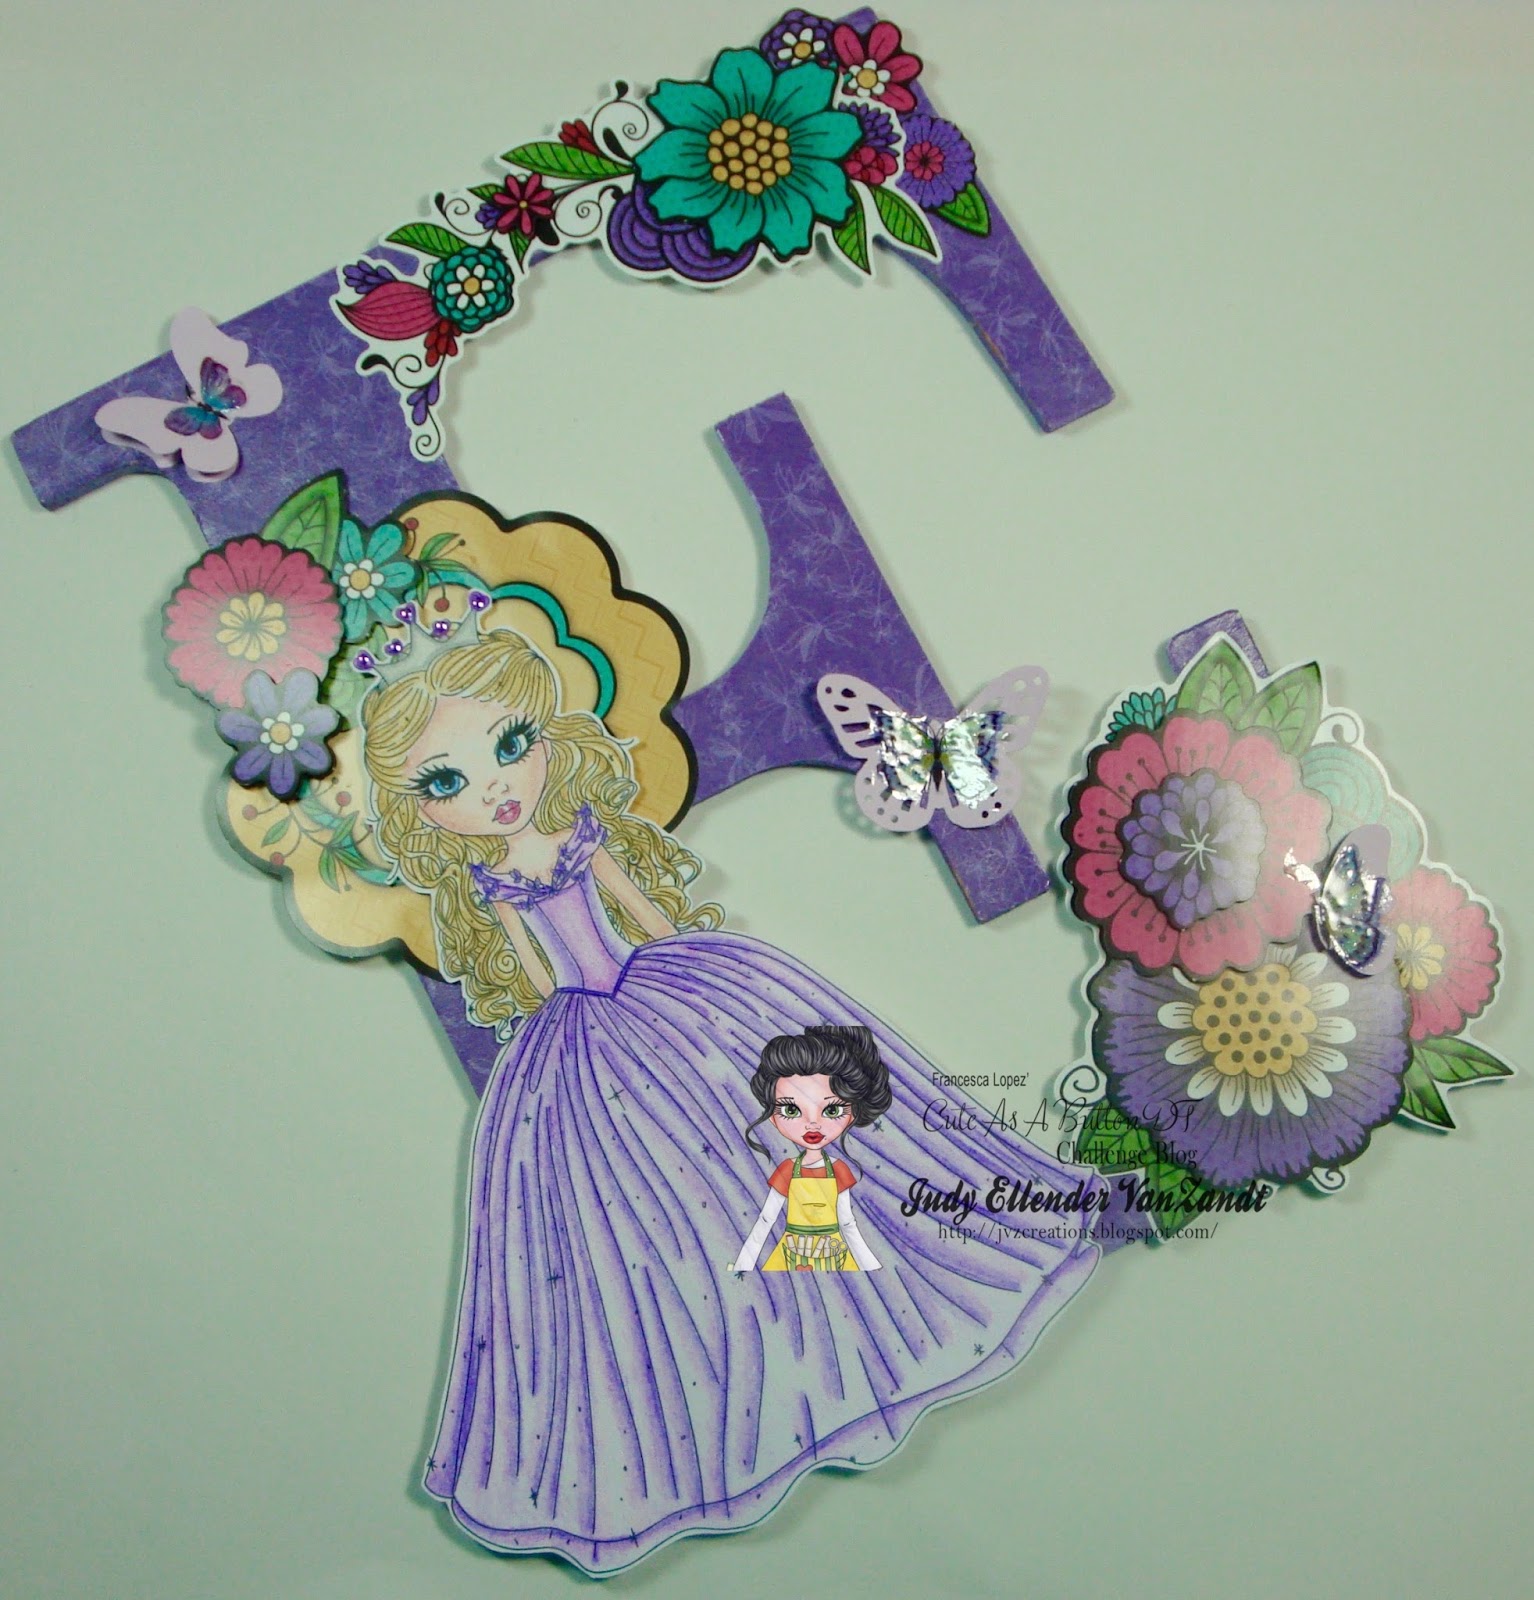
 I have made today a Box card to show you 
using the gorgeous image 


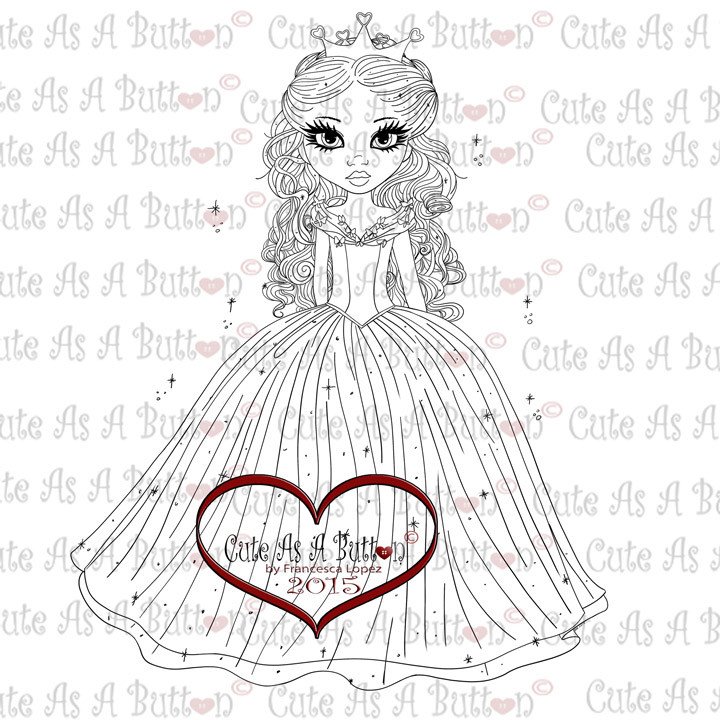
First i printed out the image and then coloured this 
with my promarker's 


HAIR-Raw Sienna-Mustard-Tulip Yellow-Buttercup
SKIN-Coral-Sunkissed Pink-Blush-Baby Pink 
Dress-Orchid -Amethyst 
Polar Bear-Cool Grey 1,2,3 
Also used White Gel pen-Silver pen-Star dust pen 


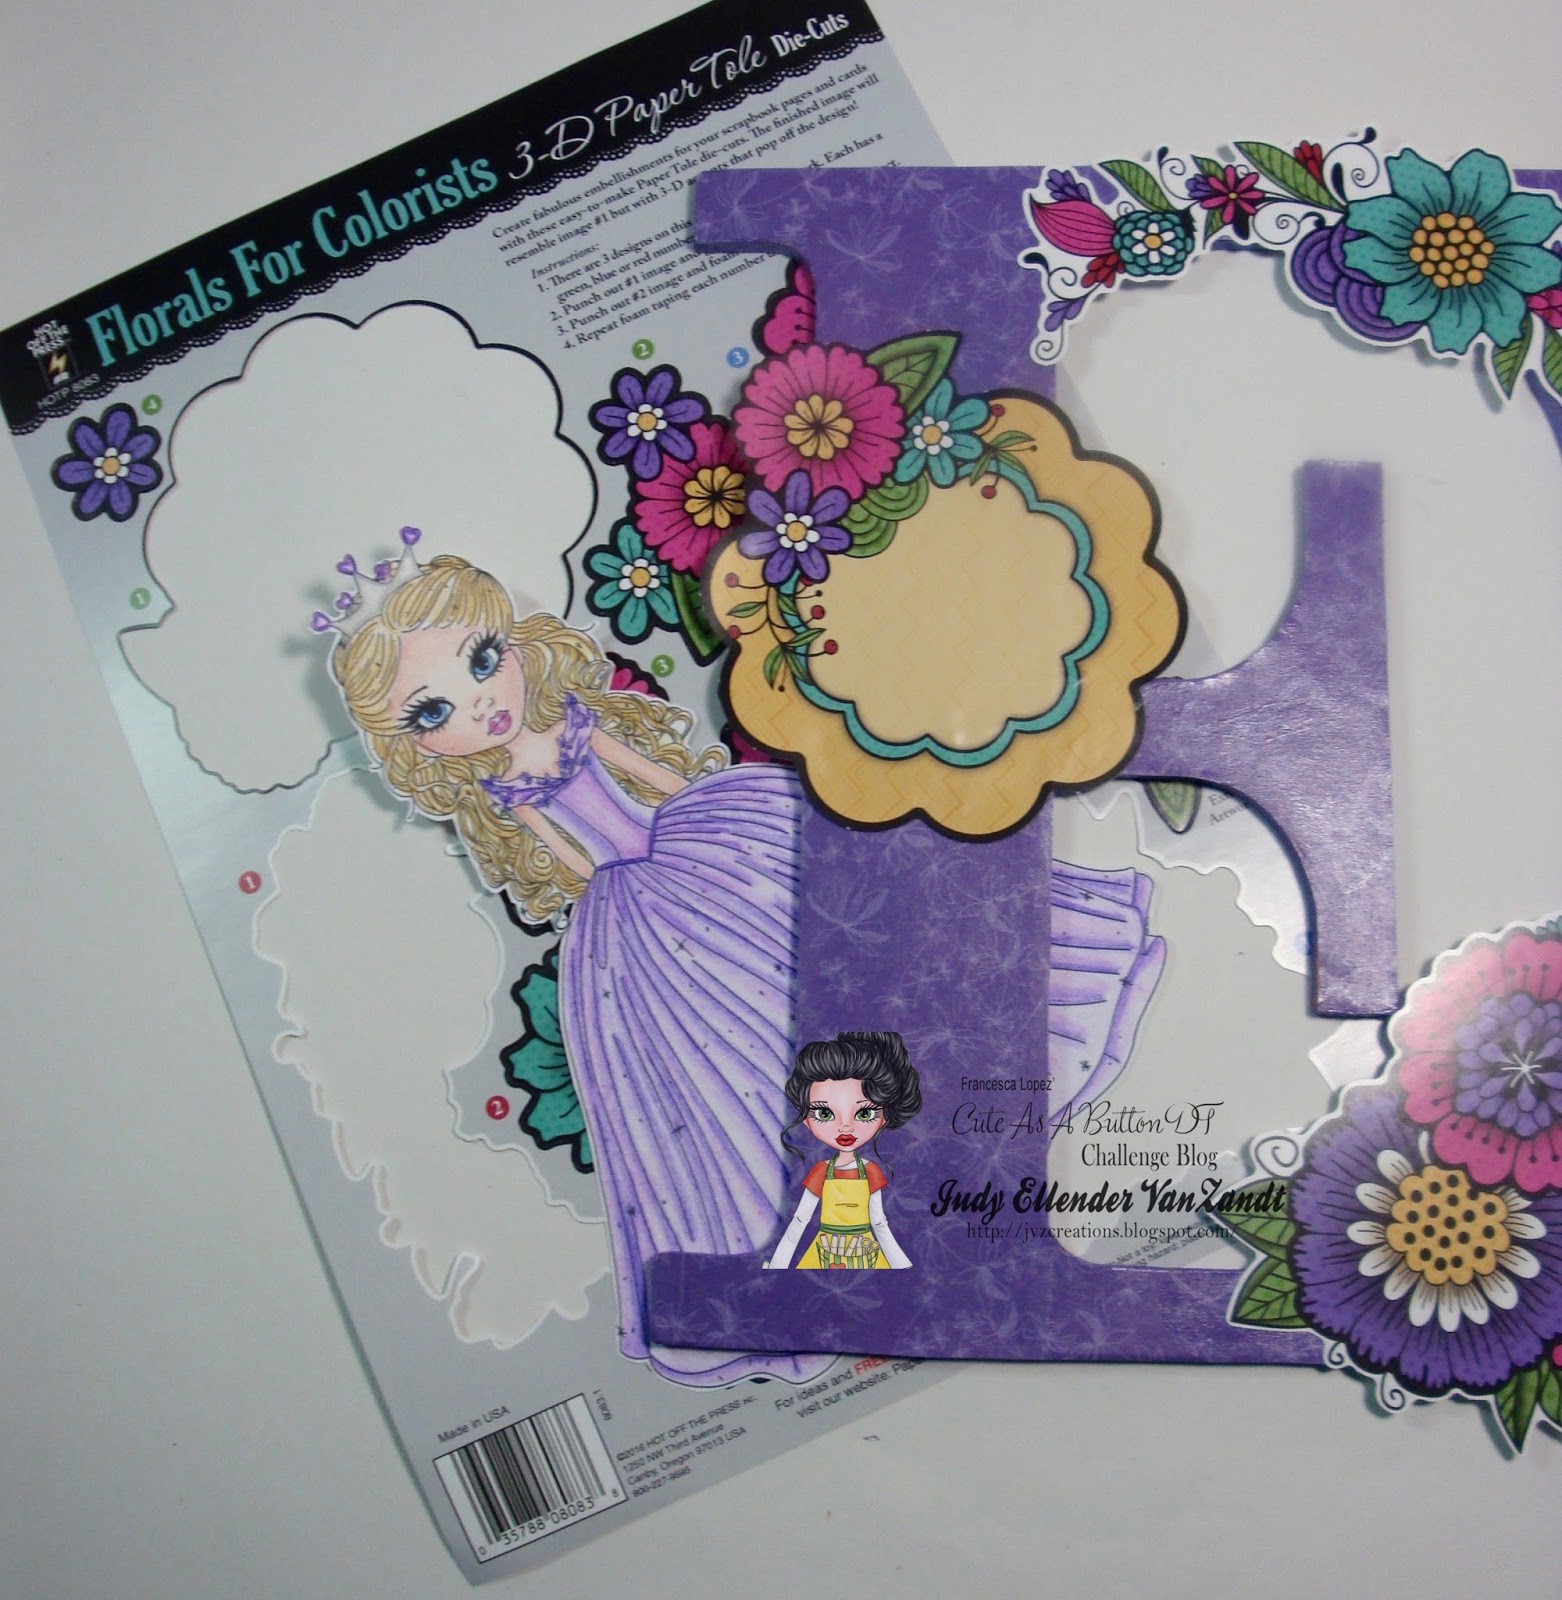
Next i choose my card to make the box and used 
some Christmas wrapping paper to cover the box 
and i cut a piece of acetate to go over the front 


Then i put it all together and then choose what dies 
and embellishments to use 


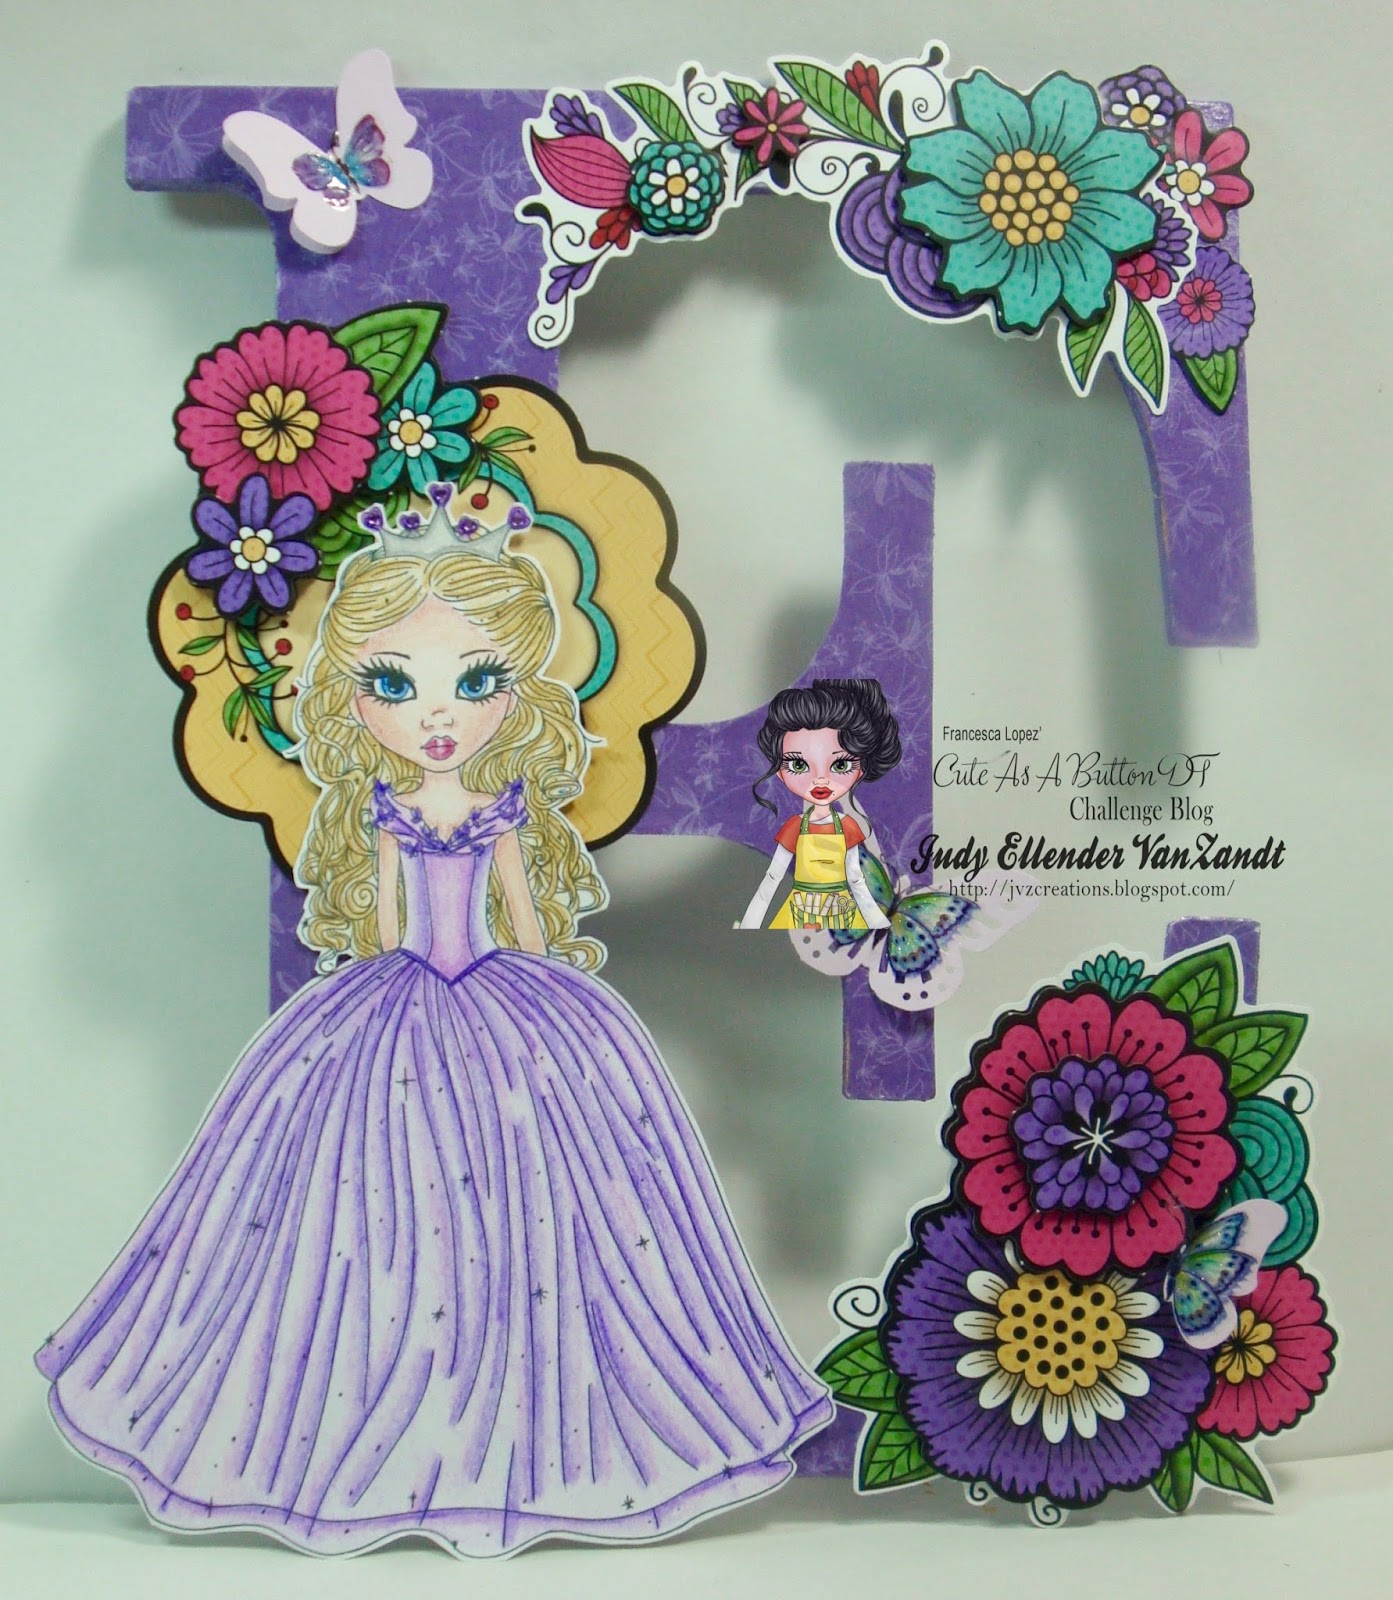
Once i had decided i just needed to put everything together 
and this is the end result 


Hope you like what i have made to show 
you today

You can find the image i have used and many more -Here 
and have you joined on this month's challenge 
Please do you can find the challenge -Here 

Dianne xx 


Saturday, November 26, 2016

November Inspiration by Judy


Hello everyone!
It's Judy here sharing my inspiration for this month!

I've been having a lot of fun playing with
altered letters, so I decided to use
to create one that would be fitting for any little girl!


I started by coloring the image with pencils
and fussy cutting. Then I painted the backside
of the 9 1/2 inch wood letter.


Next I covered the front side of the letter
with a coordinating DP from Hot Off the Press
with decoupage medium.
I also chose a set of 3-D paper tole from Hot off the Press
to use as embellishments.

To finish I added some gems to Cinderella's crown
and added some punched butterflies
that were embellished with some rub-ons.


Be sure a visit the
and check out all the products available.

Don't forget to join in on our monthly
Anything Goes Challenges at
and you can always share your
Cute As A Button projects on the 

Until next time
Happy Crafting!

Friday, November 18, 2016

Victoria's November Inspiration Post using Santa Having Cocoa

Hello everyone! It hope that your having a lovely day/evening. It's Victoria here I'm here to share my inspiration post for this month. I've decided to get into the Christmas spirit and I've create a Christmas Card using Santa Having Cocoa. There are some new Christmas digital stamps you can find them at the Cute As A Button Store.


I've coloured Santa with Spectrum Noir Markers and Pencils. To create the background I've used light blue and green card. Which I've added die cut stars to create patterned paper. The sentiment is a digital stamp made by Tracy Wray which I've added foam pads to. Then to finish of I've added die cut Holly by Creative Expression and a flower punch that I've layered up and added a yellow gem to the middle to create a poinsettia flower.

There is currently a challenge going on at the Cute As A Button Challenge Blog and a Progressive Challenge on the Cute As A Button Facebook Group. We'd love to see you come and join in the fun.

Thank you for taking the time to read my post today.

Happy crafting everyone.

Saturday, November 12, 2016

New Hope


Good morning! It's Jackie Cornfield here and this is soooooooo exciting! It is my very first DT Inspiration post as a new team member for Cute As A Button!  There are so may fabulous images in the store you are literally spoilt for choice! I am super excited to be a DT member!


Will you just look at this fantastic image from Cute as a Button!! She is called New Hope and I am sure many will agree after the strange 2016 we are all full of hope for 2017, I know I am. And if some peace can be achieved that would be marvellous.

You will find this and more HERE and please feel free to visit my blog HERE

Bye for now, I will be back soon!


Monday, November 7, 2016

Margaret's inspiration post for November

I am a couple days early posting my Inspiration for November.

This month I have made a mixed media journal page (and a mess)


I covered my page with Gesso Primer then painted it with green and blue Ecoline Brush Pens.
Sprayed with water and tipped up and down to mix the paints.
Used moulding paste through clouds stencil.  I thought that they would stay white but they became blue after a while.
Used distress ink and gel pen through mini climbing vine stencil.
Stamped grass and flowers and butterflies from Posh Impressions stamp-a-scene set.
Printed girl from Cute as a Button precoloured IMG120 Love conquers all, cut out and layered girl on top.   Printed the sentiment from the set a bit bigger, cut out and sponged with distress ink and layered on top.
Added white flowers with rhinestones.

I hope you will follow this showcase blog and see the lovely work every few days by the design team.

Don't forget to join in the November challenge on the challenge blog
Challenge 28 Christmas
http://cuteasabuttonchallenge.blogspot.com.au/2016/11/welcome-to-challenge-28-christmas-and.html

We also invite you to join the facebook group
https://www.facebook.com/groups/CuteAsAButtonDigiStamps/

Have a good day.

Saturday, November 5, 2016

Feliz Navidad

Hola! :)
Here I am with some inspiration using Mexican Beauty! When I saw her, I thought she'd make a great Christmas card with some ethnic flair. I think I was right! :) She also comes  pre-colored for a quick make.
For more pictures and details, please visit my personal blog
Be sure to stop by the challenge blog and join in on this month's fun! You can also check out Cute As a Button on Facebook and see more inspiration on Pinterest! Don't forget to stop by the store and have a look at all the other cute images available! 
Thanks for stopping by and don't forget to come back to see more cool stuff my team mates are sharing!

Wednesday, November 2, 2016

Karen's Theatrical Inspiration

Being a stage actress one of my favorite things is the comedy tragedy masks...I saw this fun image (TWO CHOICES) and had to use it for my inspiration piece this month.  I have a silhouette machine so, from the Silhouette store, I purchased this fun DRAMA THEATER STAGE set by Samantha Walker.

I chose to go with black, burgundies and golds.  Once I cut the shapes and put it all together I added my image...How?  Well...I colored the image first, then scanned the colored image into my computer.  Once I scanned it into my computer I used my print program and lightened it so that the sentiment would show up more clearly.  I then cut it all out and added it behind the stage.  I then used pop dots to the stage to add some fun dimension.  Once it was all put together I added the gems around the entire thing to frame it.  Then sprayed with Glimmer Mist.


Thanks for looking!