Tuesday, April 26, 2016

April Inspiration by Judy

Hello all!
It's Judy here sharing my Inspiration project for April!


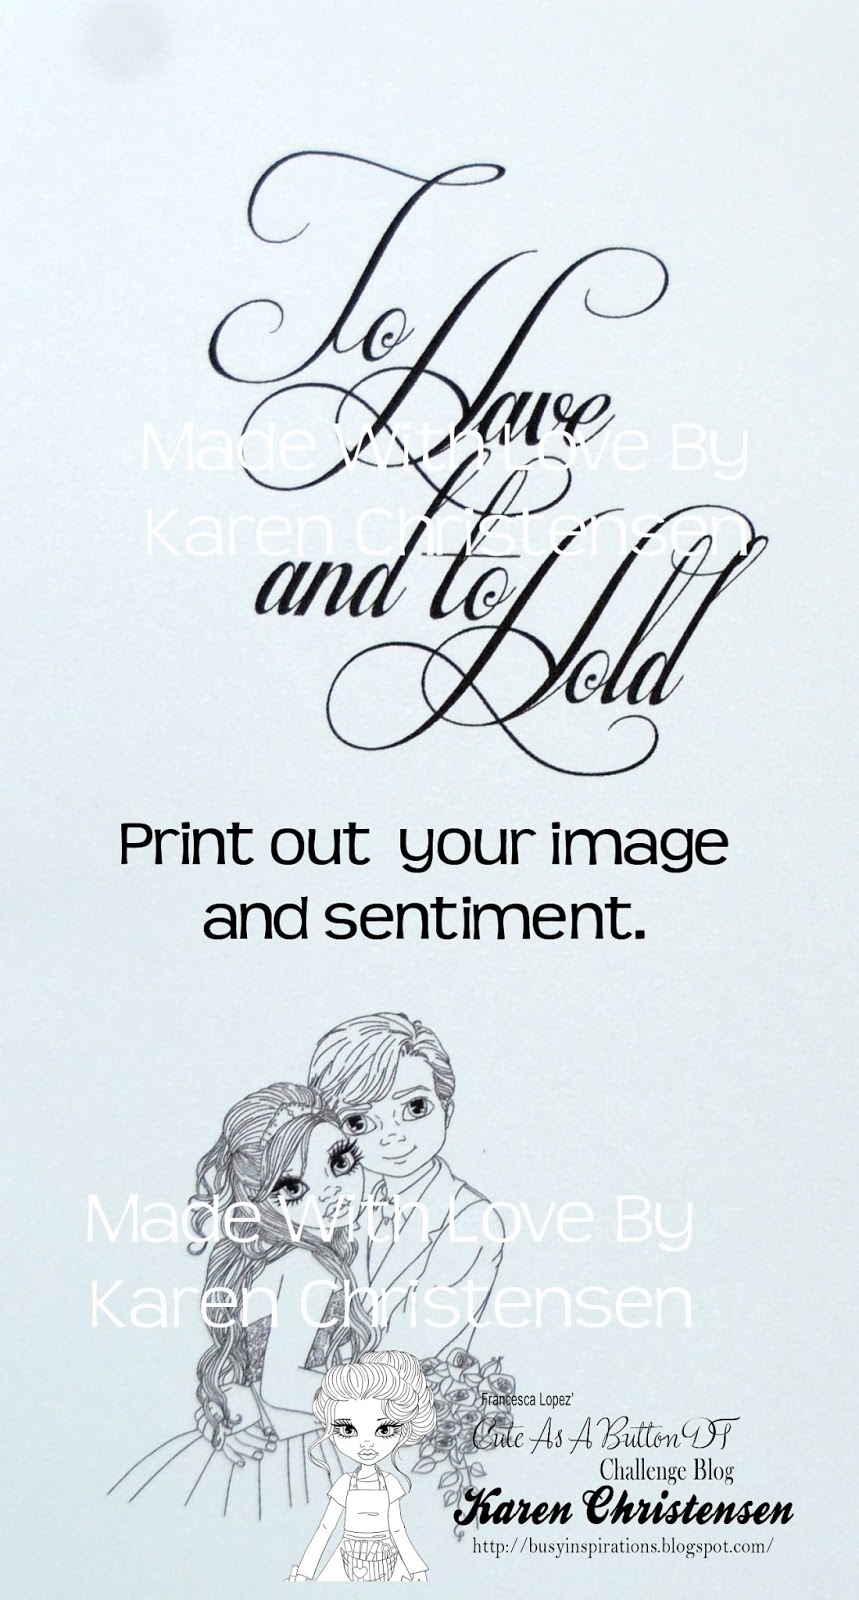
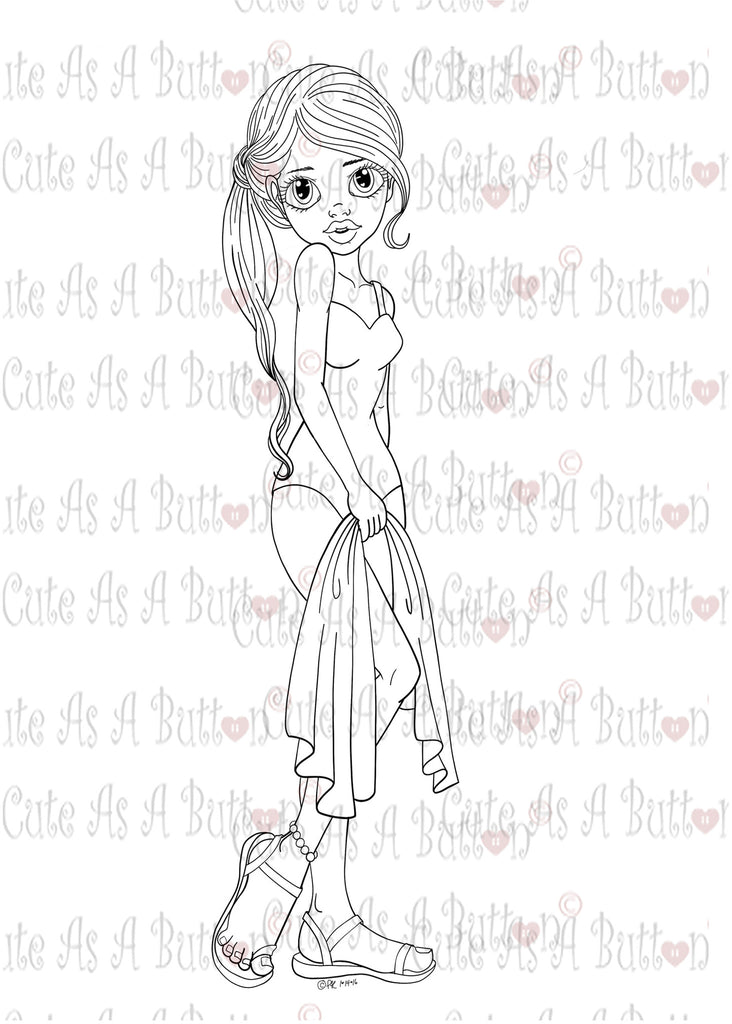
I chose this beautiful digital stamp for my card.


I gathered my supplies.
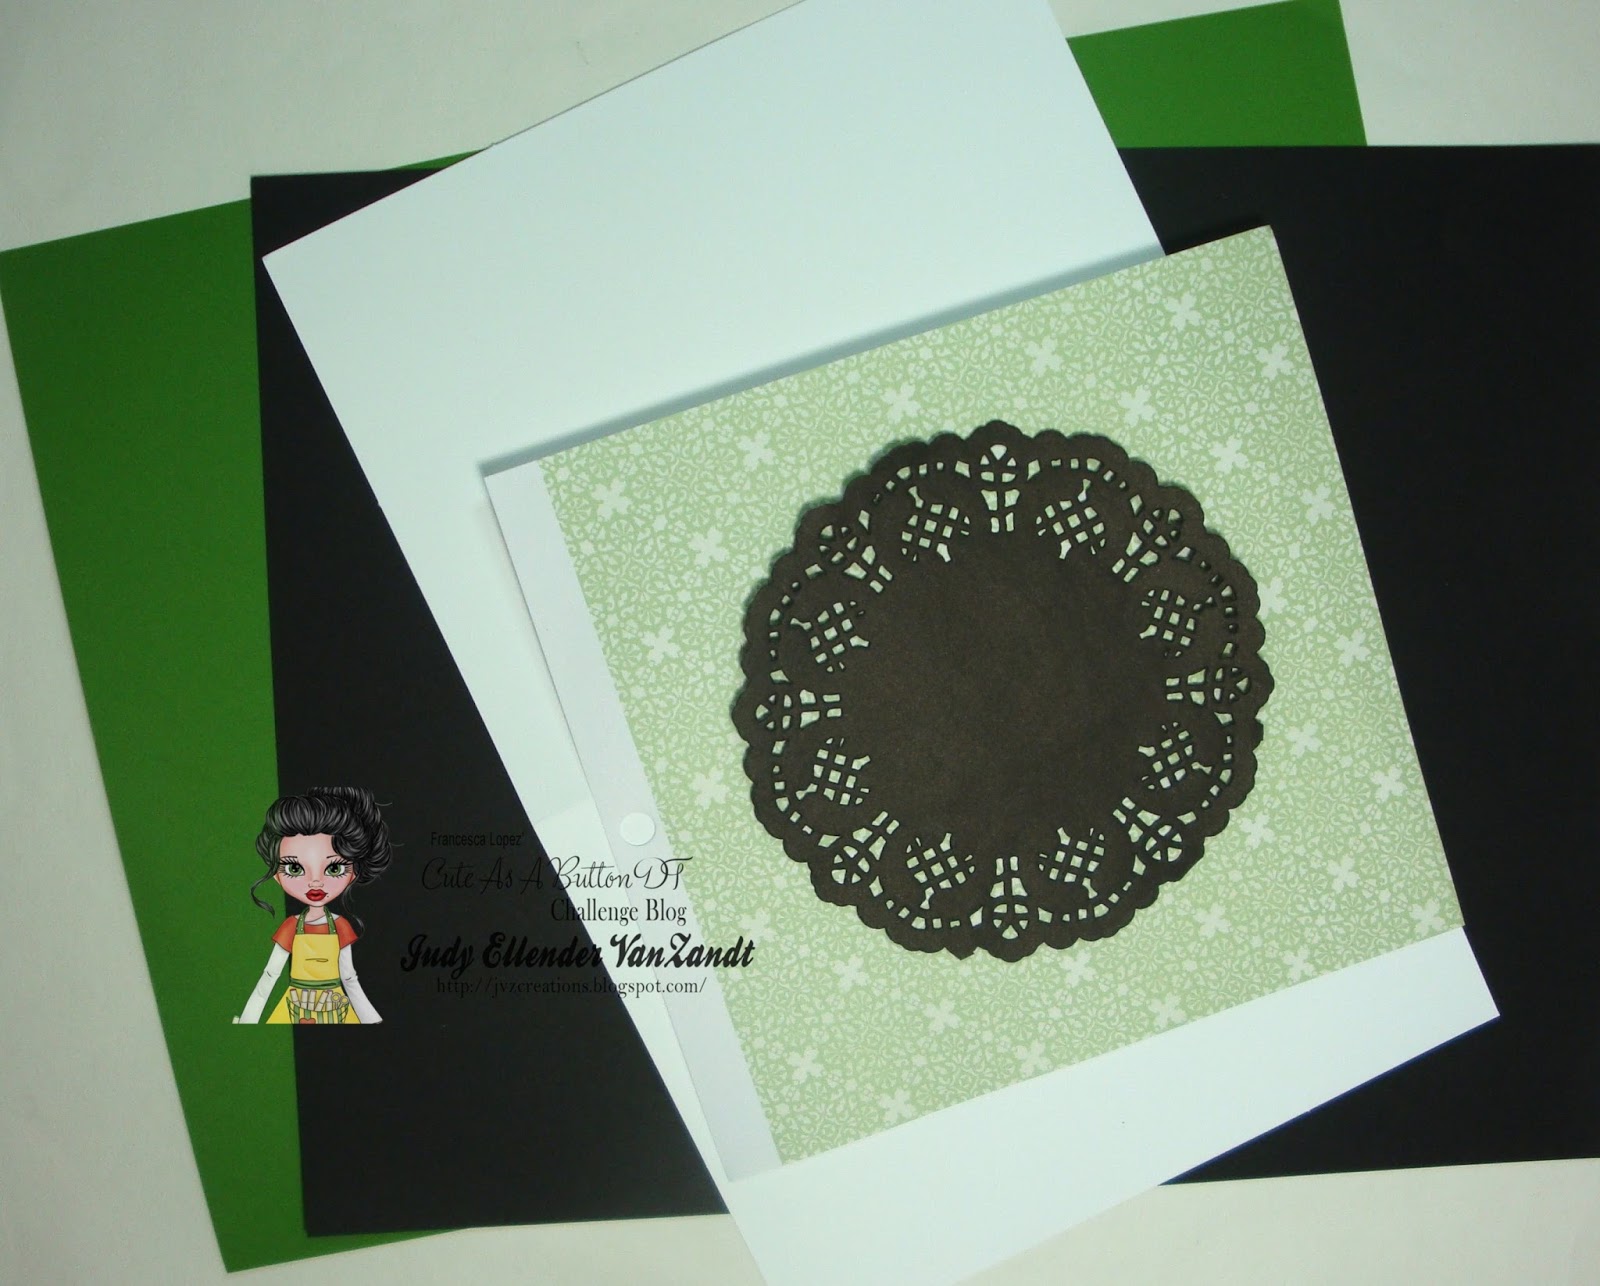
A 5 in x 6.5 in blank card
2 pieces of complimenting colored card stock
1 piece of DP
Doily

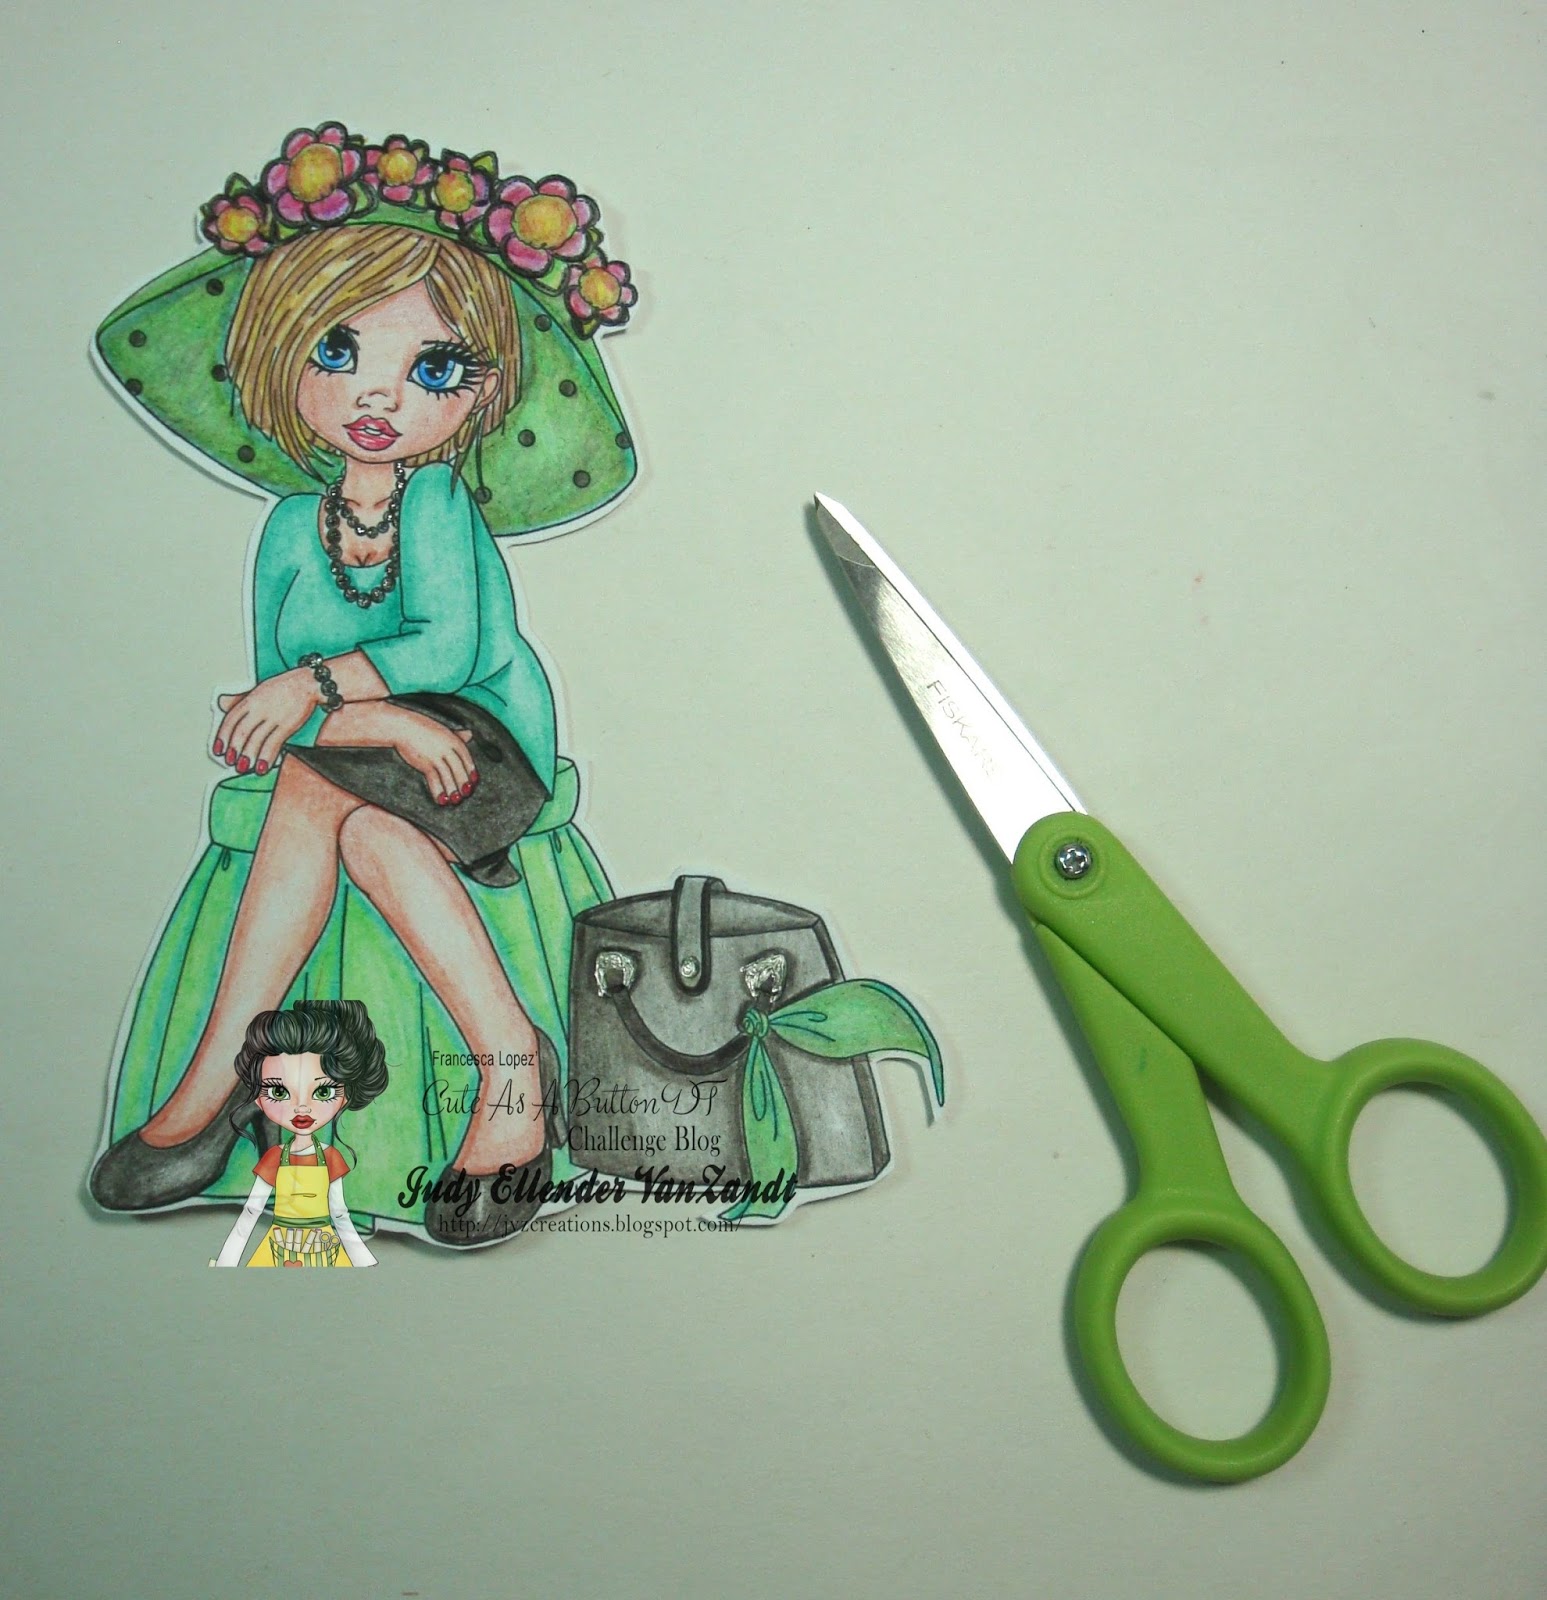
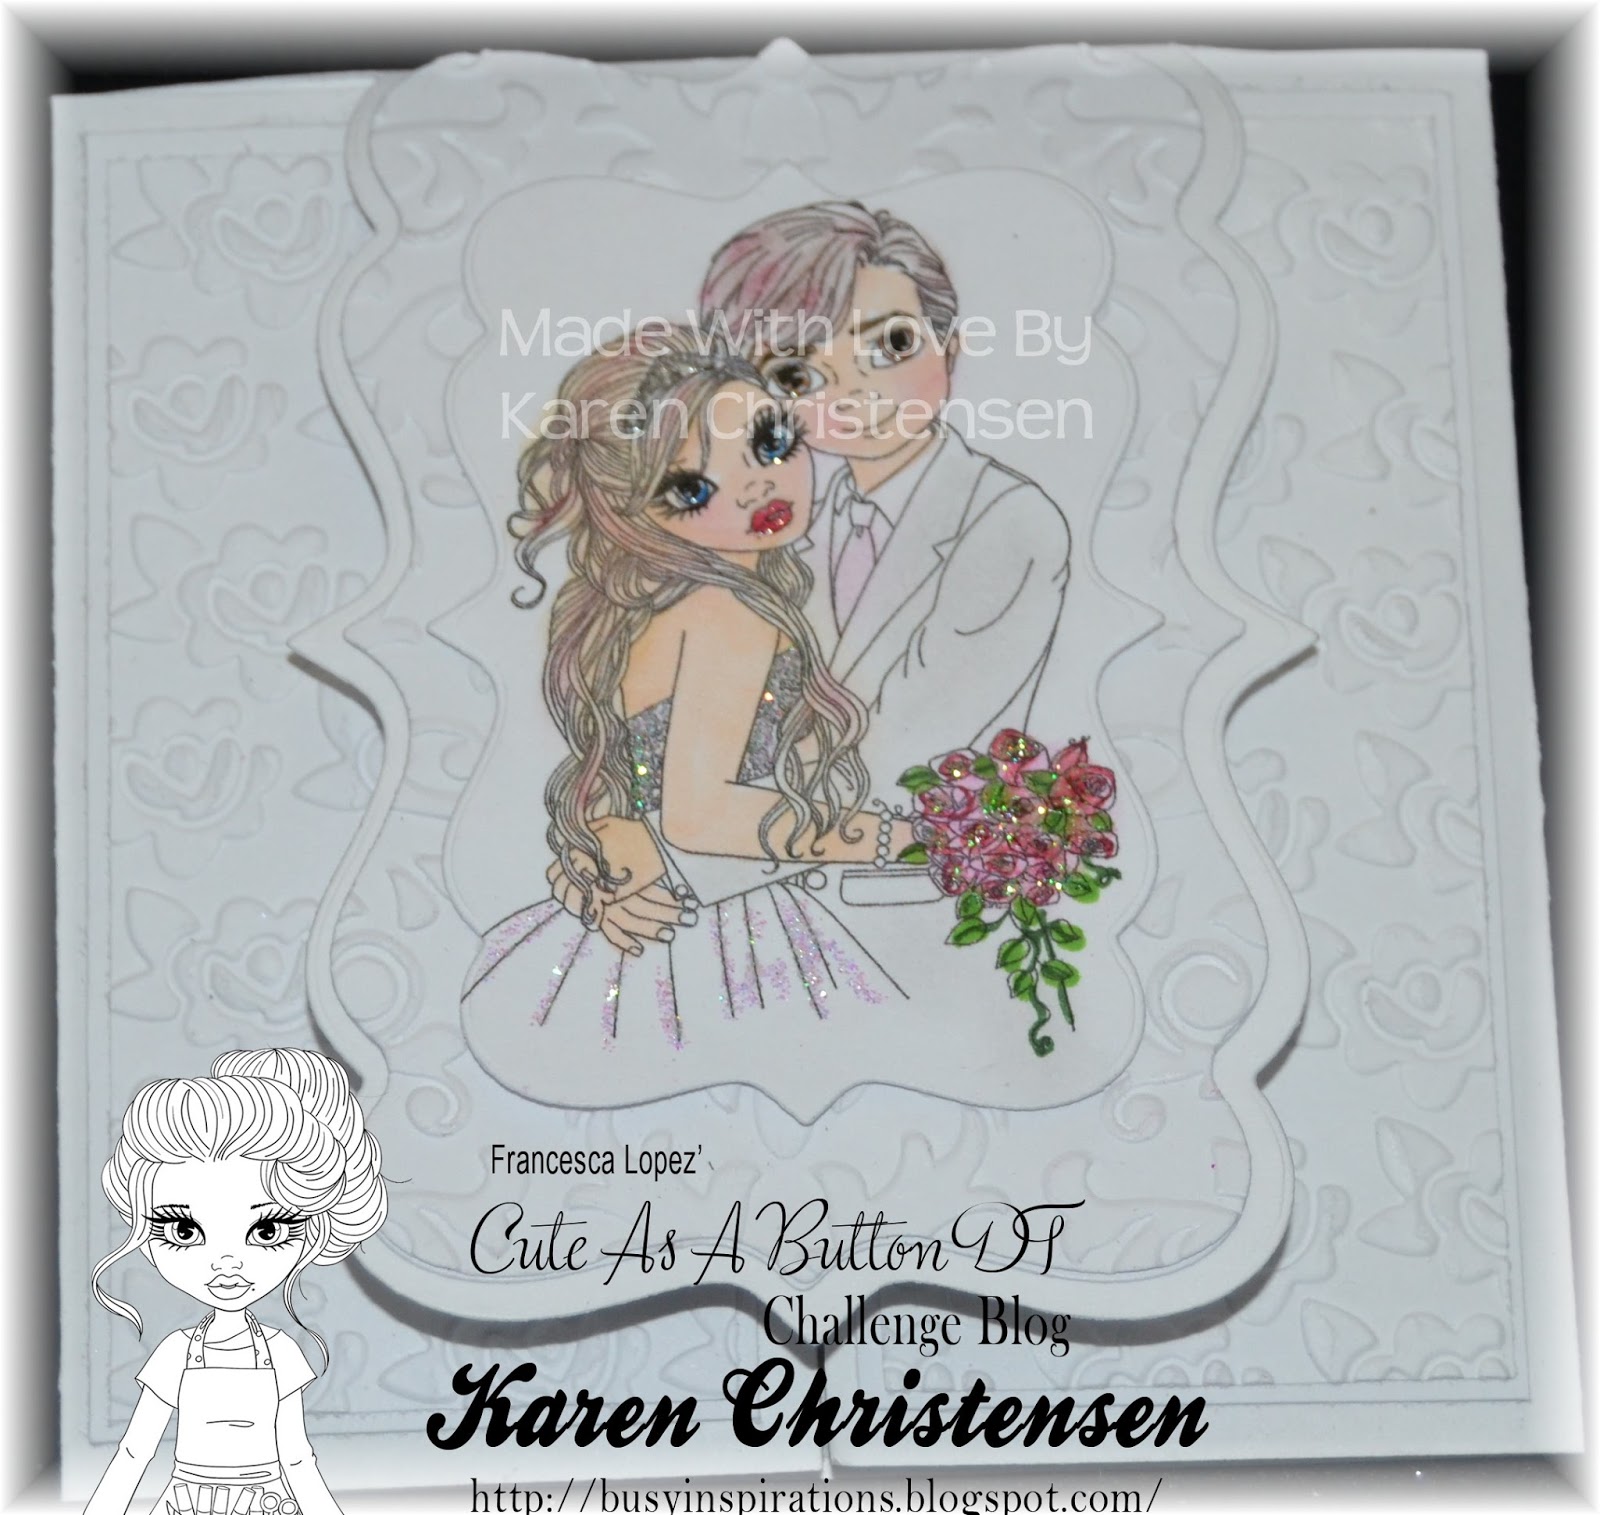
I colored the image with pencil colors and fussy cut.

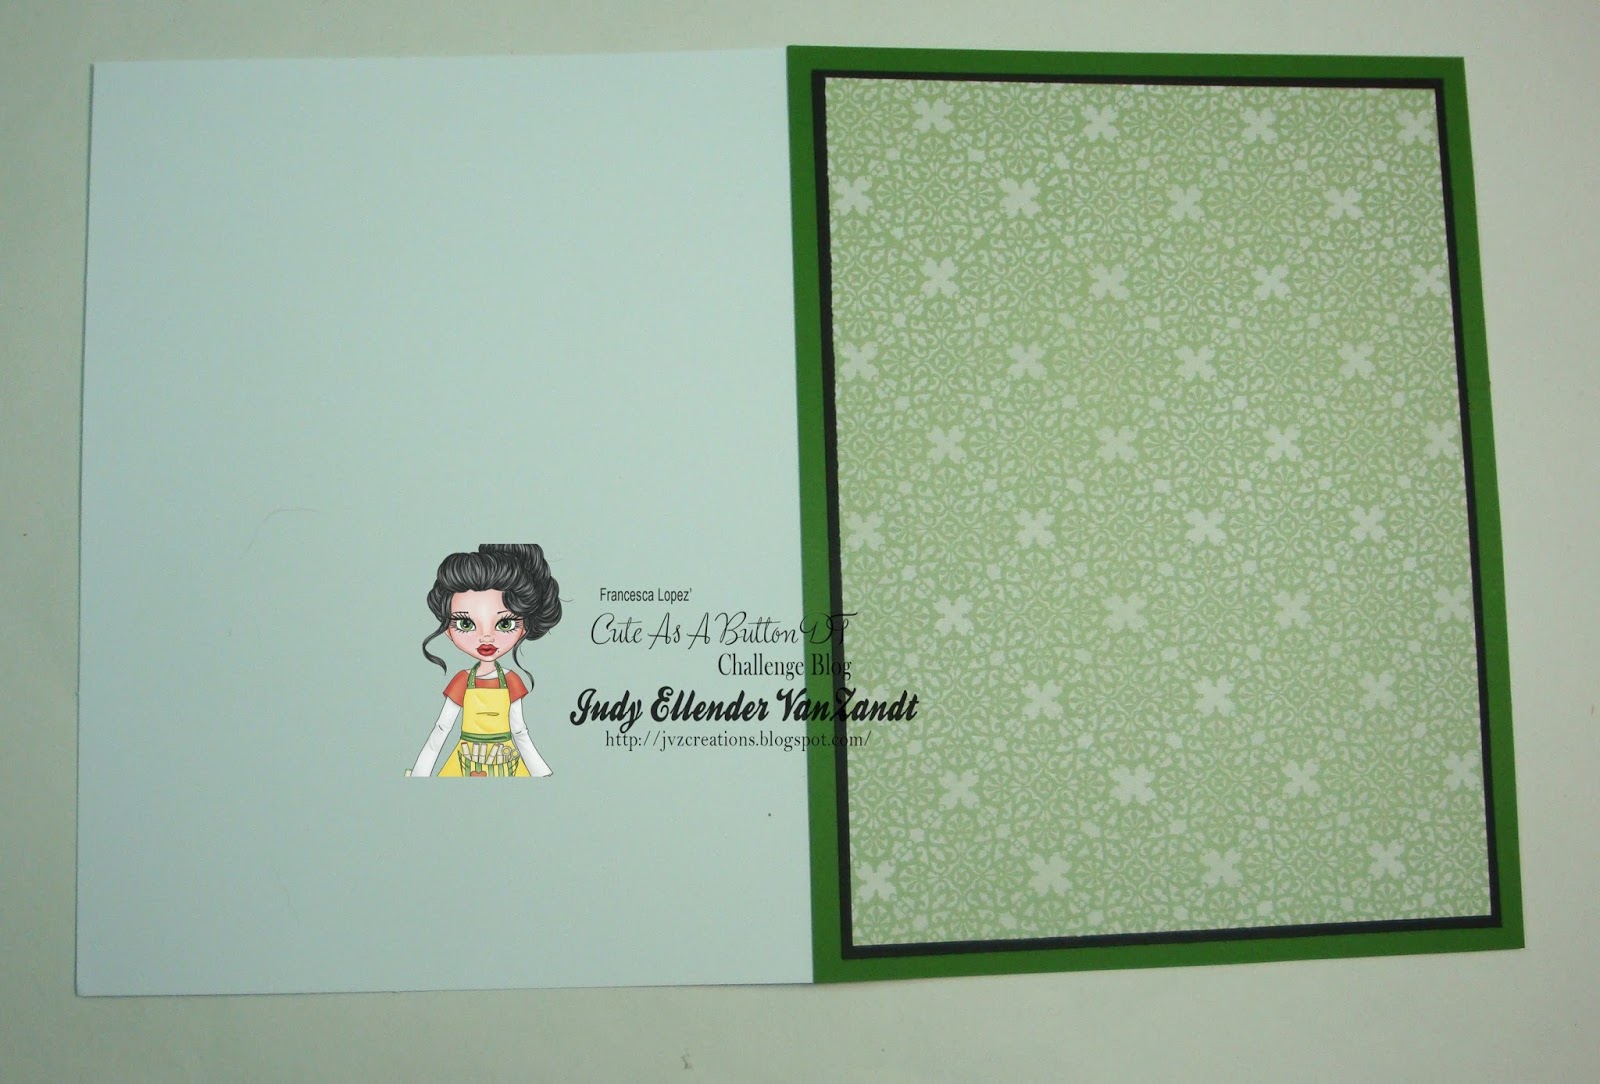
I double matted the DP with the solid colored card stock
and adhered to the front of the blank card.


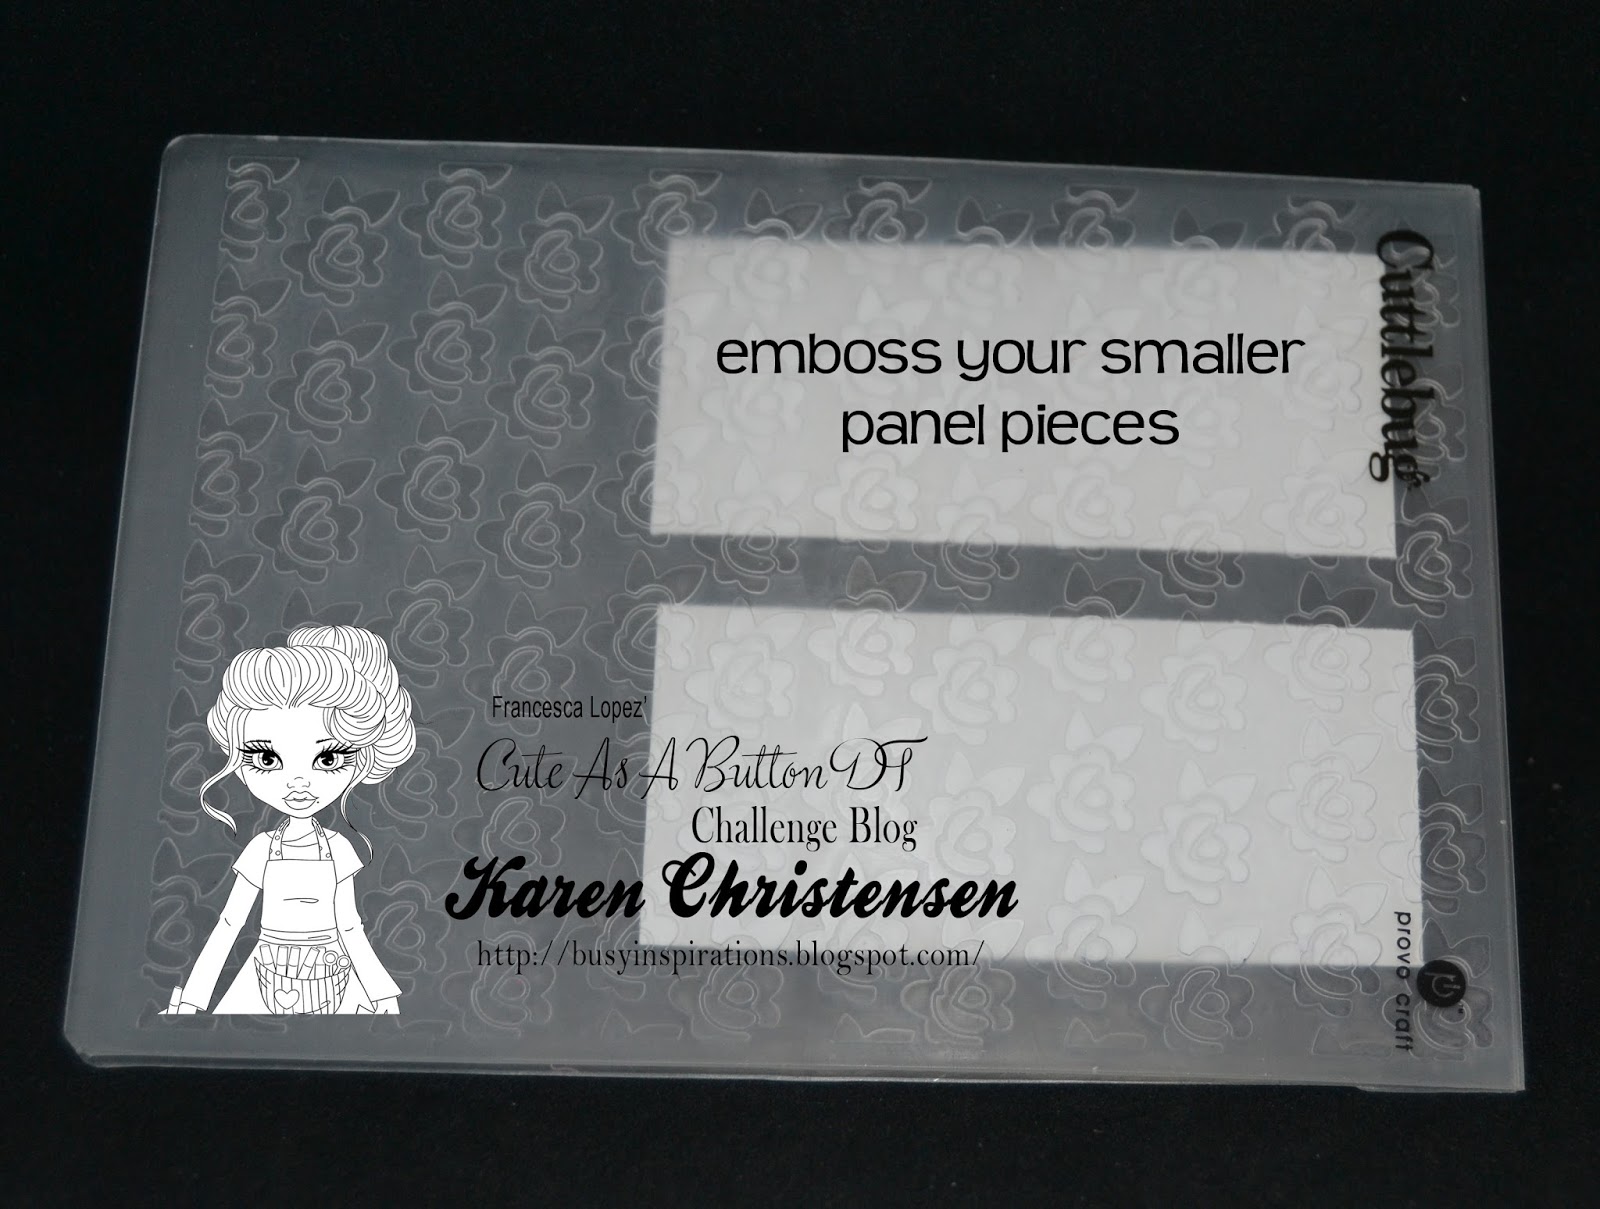
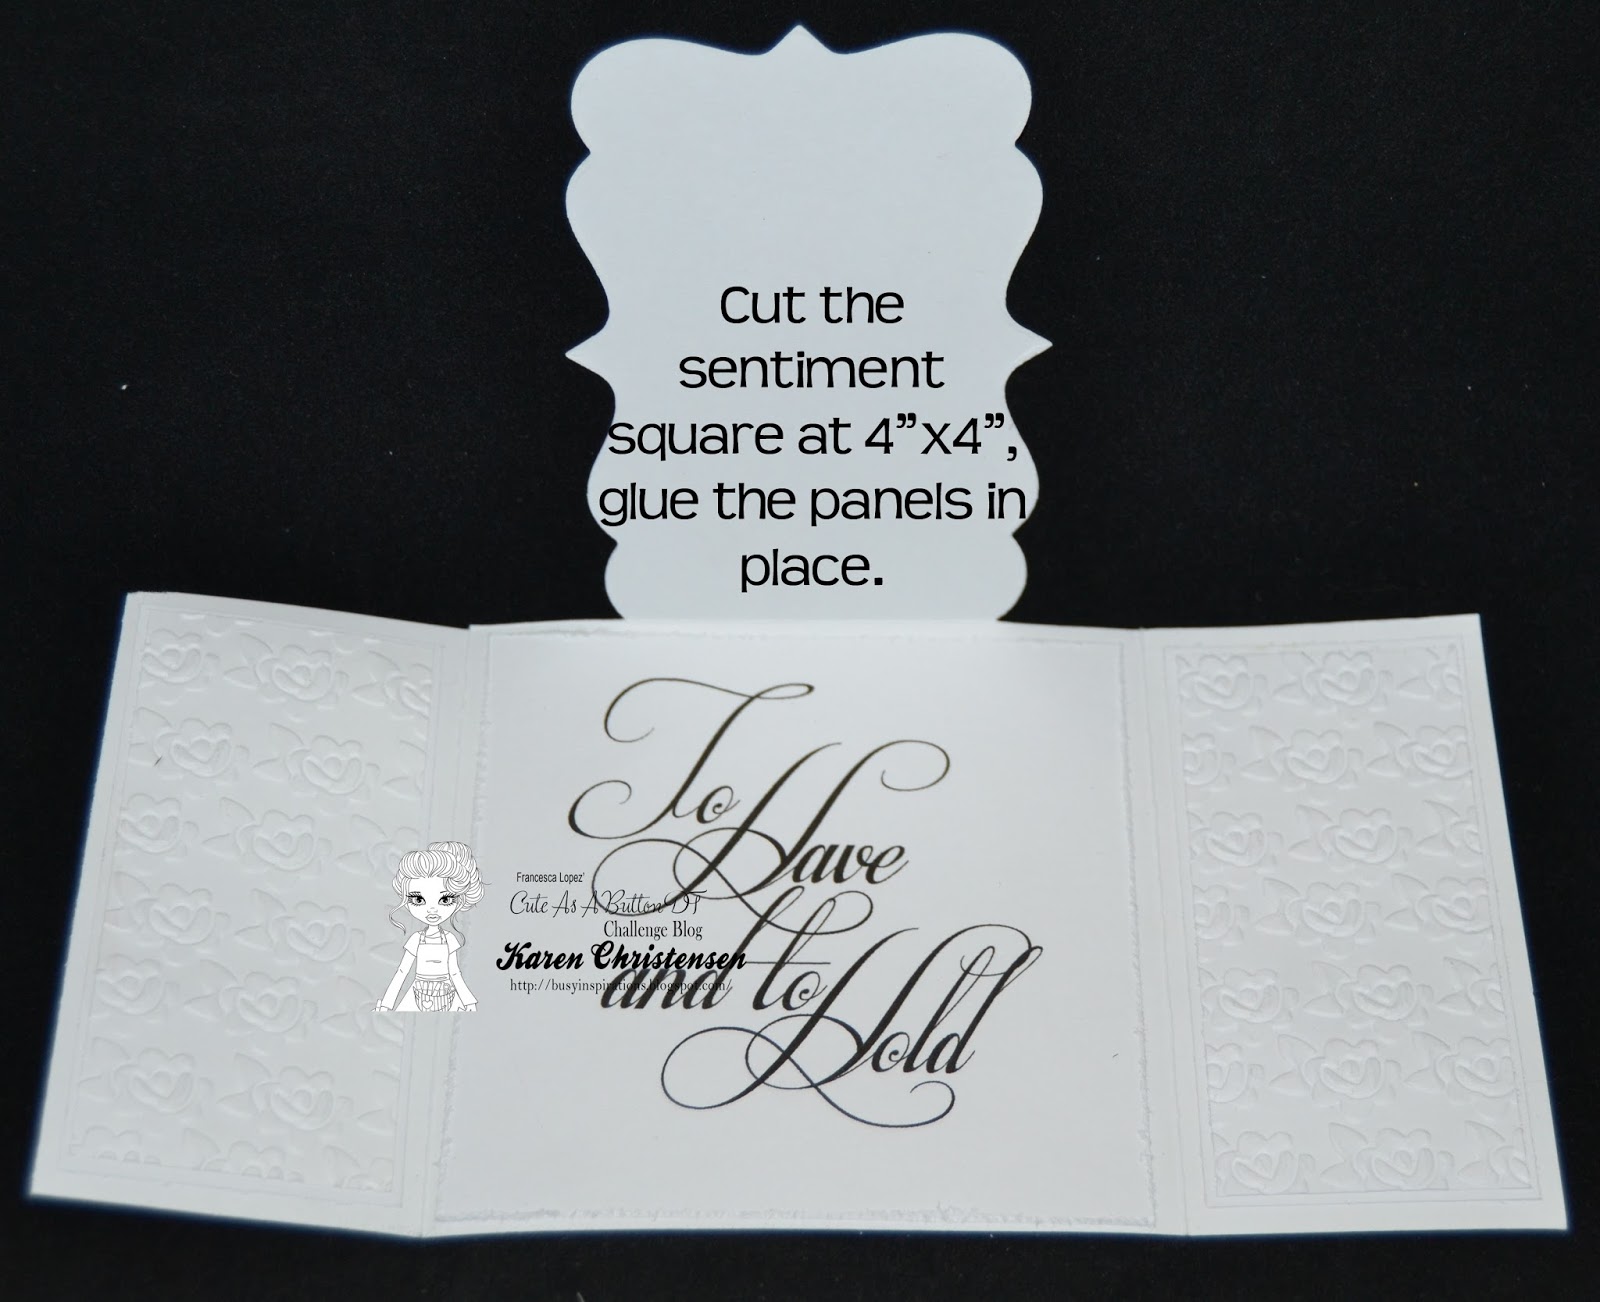
I prepared a solid rectangle shaped panel to adhere
the image to with foam squares.

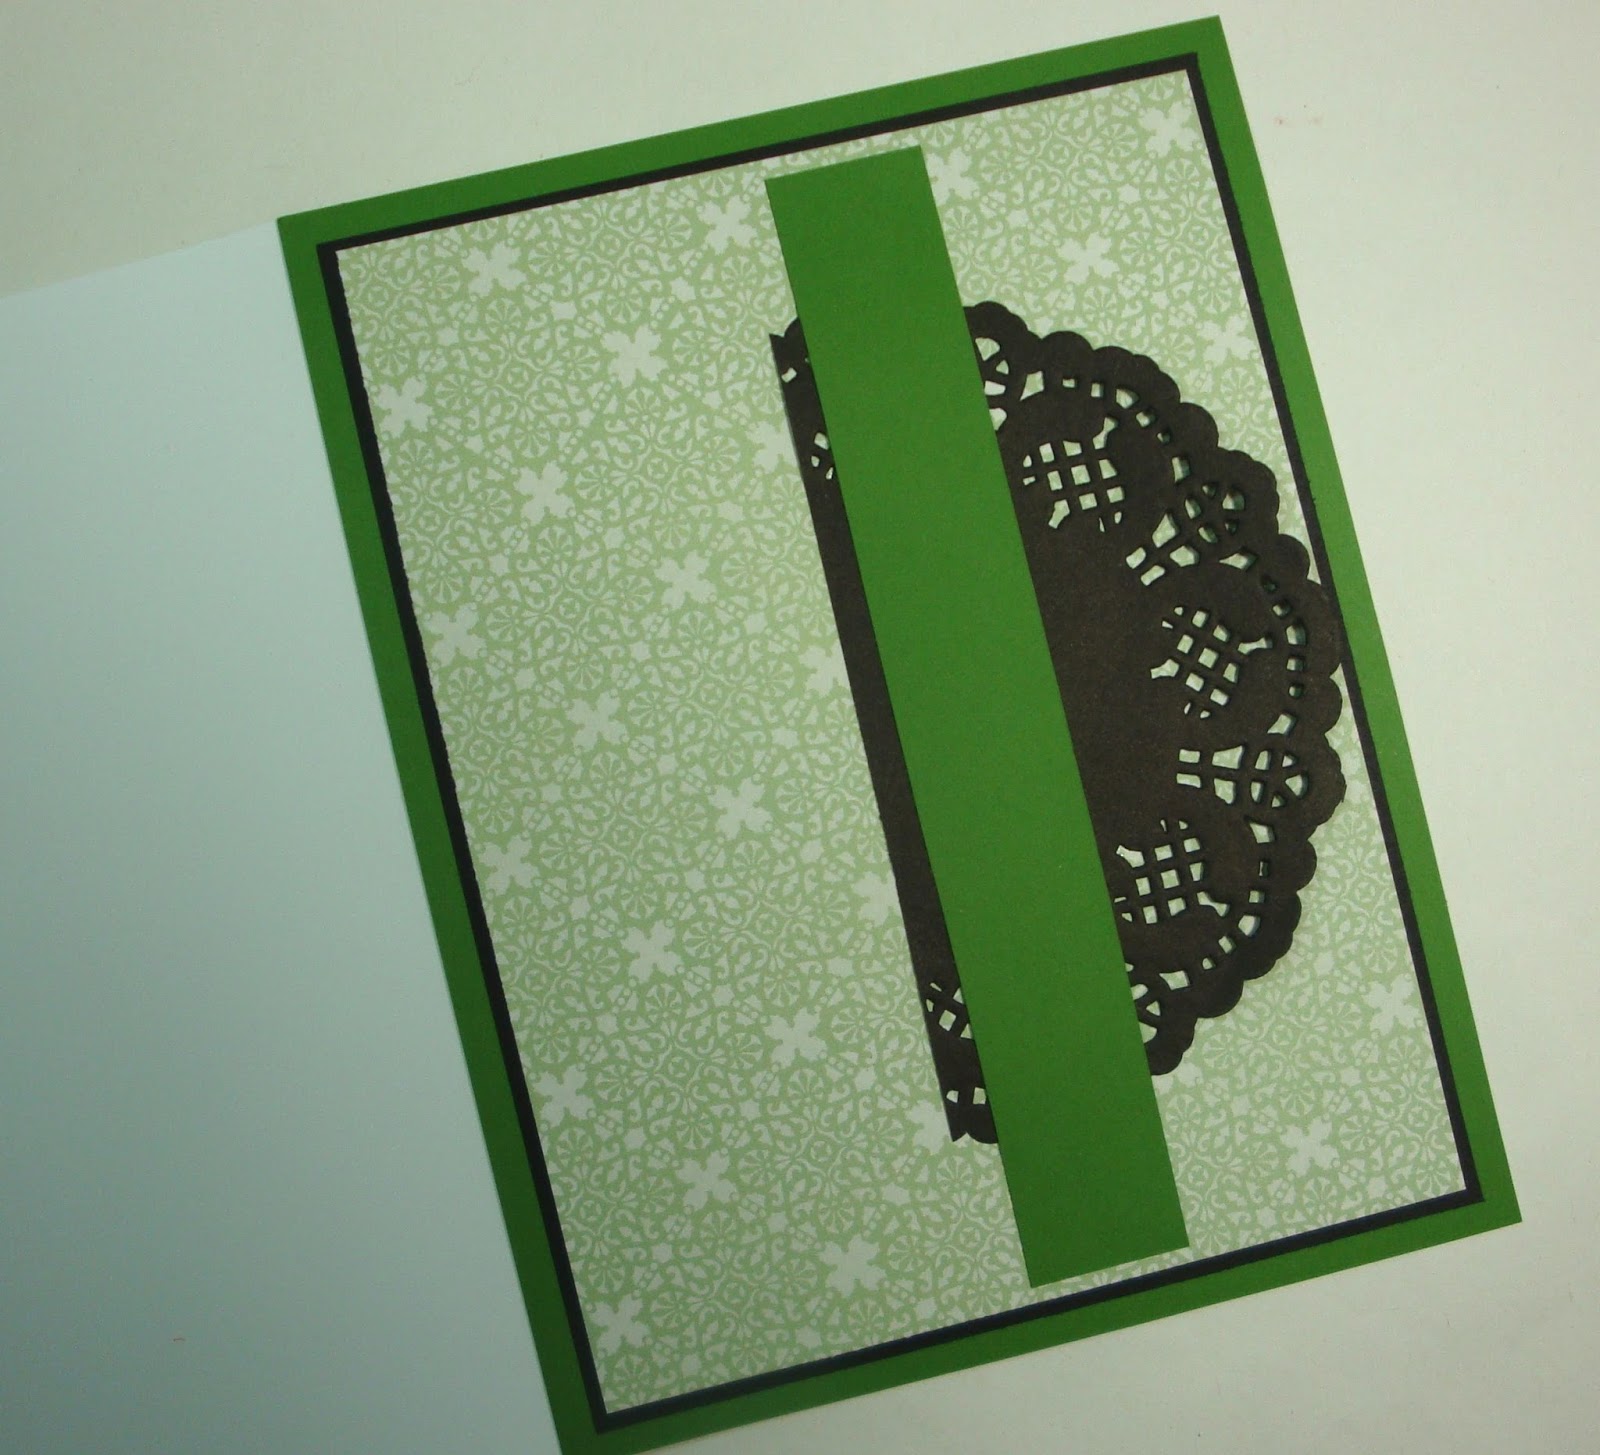
I added a strip of solid card stock over the doily
which I cut in half.

I added the image panel. 
The finishing touch is the stamped sentiment.


I hope you'll check out this digital stamp 
and all the other items available at

We have lots of other inspiration you can check out at the
and the

Until next time, Happy Crafting!


Wednesday, April 20, 2016

Label Flap Gate Fold Tutorial

Hello This is Karen C!  This is my first time to post on here as a DT Member.  I decided to do a picture tutorial on how to make a Label Flap Gate Fold Card.  I used the adorable IMG00329 Our Wedding Day - Bible Journaling Bookmark Digital Stamp.  I went with a white on white paper choice.  To make this you will need some fun shaped cookie cutter dies, a die cutting machine, card stock, DP and/or cardstock, sissors, scoring tool, paper cutter.

First cut your pieces - the main part of the card is 8-1/2"x8-1/2", the piece with the sentiment is cut at 4"x4", the panels are cut at 1-7/8"x3-7/8" and 1-3/4"x3-3/4".

Print out or stamp your images:


Score the main piece:


 Remove the two upper corners:


 Using the die and die cutting machine cut the upper flap.  Place the upper cutting plate where you want the cut line to end:

Cut off the areas you need removed:

 Have your panel pieces cut and ready to put together:


 Adhere the panels and the sentiment:

 trim the side panels as need so that the top panel will lay flat:


For the top flap I made the personal choice to cut (using the cookie cutter dies) more layers, including the main image:

after gluing it all together this was my finished project:

Hope you enjoyed and understood my tutorial!
Hugs,
Karen C

April inspiration by Nicky


Here is my inspiration for you today. Its a cute and sparkly card for a little girl. I hope you all like it :)


 I made this card using the 'Crazy Cat Lady' image from Cute As A Button. Find it at the shop link below.


Here are some step by step instructions of how I made the card.

First I coloured the cats and her hair, as i knew the colours i wanted to use for those.

Then I chose some card, matching paper and a card blank that matched the size of the image and coloured the image to suit the coloured card I chose. I chose the red patterned paper because the swirls on the paper matched the ball or wool shape/pattern.


I used the following Promarkers:

Clothes, flower and shoes- Orchid, Amethyst and Yellow.
Skin - Dusky Pink and Blush.
Wings - Pale Pink.
Hair - Sandstone and Cinnamon.


I cut the image to a suitable size, chose a 5" x 6.5" card blank, mounted the plain red card onto the card blank using double sided tape to be 6mm smaller than the card blank on both sides. I cut the red patterned paper to be 6mm smaller than the red card and used double sided tape to stick it onto the plain red card.

I mounted the image onto the same plain red card used on the base layer and stuck them together with doublesided tape. I mounted the image onto the patterned paper using foam tape.

To finish i cut out an LOTV sentiment to add to the bottom RH corner.


Here are some links for you:


Thanks for reading and 
x HAPPY CRAFTING EVERYONE x


Friday, April 15, 2016

April Inspiration by Lau

Hello !

It's Lau ! I want to share a card with you today. I made it with the digital stamp "Beach Day" you can find in the store HERE. I want to show you how I make a sky ;-)
Hope you like it ! xx


I will use Promarkers for my colouring, and Distress Ink for the Sky, and glamour Dust for the sand.....But but first I drink my cappuccino haha :-))


I colored my image, and I created my sky template. I mask my colored image.


With a sponge dauber, i'm doing my sky (Distress ink blue)


I move my template down and sponge again


I remove the masked image. I color the bottom of my card with Promarkers. I add glitter on the sand.


I add a sentiment (DCWV paper), a seagull (die Joycrafts) and a wooden starfish
et voilĂ  !


I hope I have inspired you. Feel free to join us on Facebook to share your projects, it's here : https://www.facebook.com/groups/CuteAsAButtonDigiStamps/


Have a great day dear Crafters ! xx

Monday, April 11, 2016

April inspiration by Margaret

Hello everyone here is my April Inspiration card for Cute as a Button

Mine is another very easy card to highlight the lovely digi stamp.
I have layered Cute as a Button precoloured digi stamp A touch from the master onto paper from Digital Scrapbooking Studio.  Typed sentiment.  Added flowers and butterfly from Digital Scrapbooking Studio.
This is one of the new stamps released yesterday and comes as a black and white digi for you to colour.

You can buy the lovely Cute as a Button digi stamps at
http://cute-as-a-button-stamps.myshopify.com/

and don't forget to join in the April challenge on the challenge blog
http://cuteasabuttonchallenge.blogspot.com.au/2016/04/welcome-to-challenge-21-anything-goes.html

We also invite you to join our facebook group
https://www.facebook.com/groups/CuteAsAButtonDigiStamps/

Have a good day everyone.


Saturday, April 2, 2016

Inspiration Post by Lisa

Here i am to share my inspiration post for April , spring is in the air and hopefully some sun .


 Stamp available at :cute-as-a-button-stamps she is called Beach Day 

I printed out the digi stamp and colored it in picked out some backing papers from my stash 


Join us on Facebook at :Facebook Group ~Cute As A Button

Crafty Hugs Lisa x